Baby Play Mat Growth: Milestones From Newborn
7th Oct•6 min read
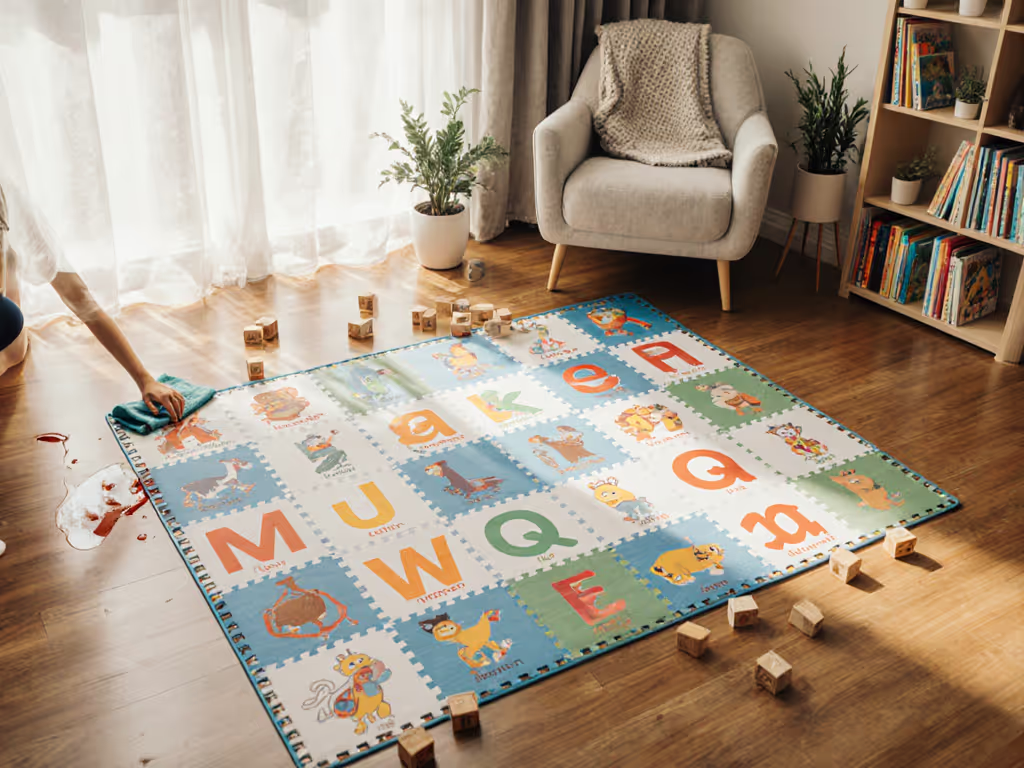
When addressing baby torticollis positioning, your play mat isn't just cushioning, it is an active therapeutic tool. The right torticollis play mat creates measurable support that guides head movement while accommodating your floor type and baby's developmental stage. Based on my testing across concrete, tile, and creaky hardwoods, I've found that effective positioning depends less on plush thickness and more on precise firmness distribution that works with your floor, not against it.
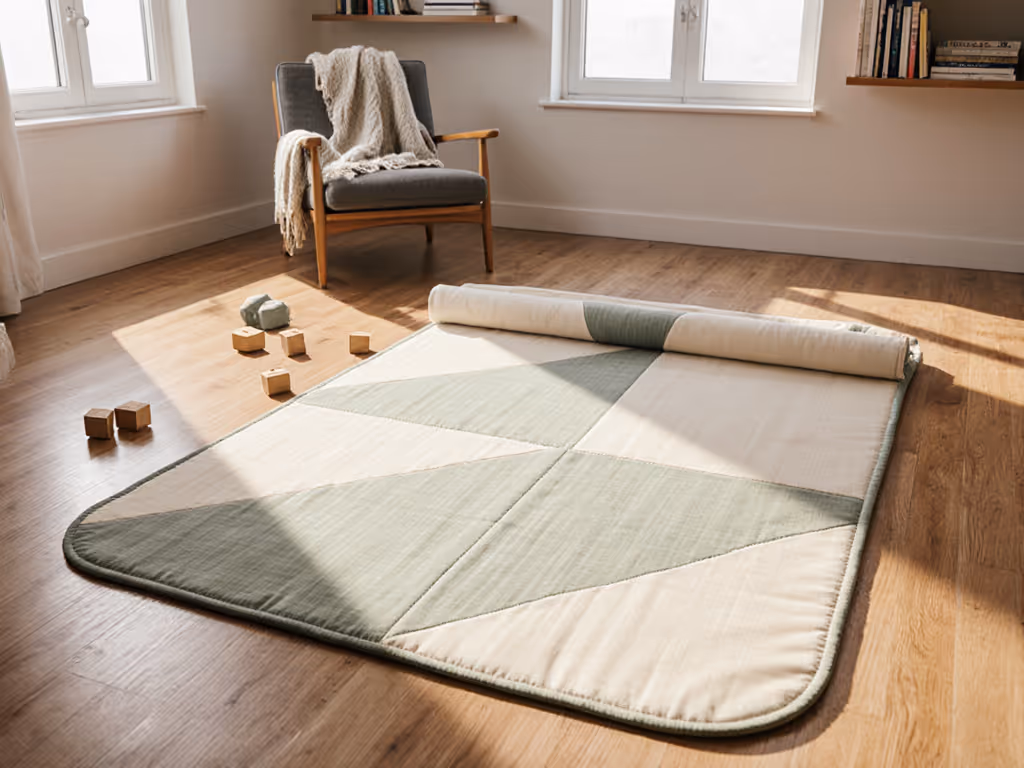
Support is distribution; thickness alone is a blunt instrument. For a breakdown of foams, fabrics, and natural materials with safety ratings and durability notes, see our baby play mat materials guide. During my testing, I measured how different mats (3-20mm thickness range) responded to the specific weight distribution of infants practicing head turns. Ultraplush 15mm+ mats that looked supportive actually created "sink zones" where babies' heads would pivot awkwardly toward their preferred side (counterproductive for correction). Conversely, mats in the 6-10mm range with medium-firm density (45-55 ILD rating) provided consistent surface pressure that encouraged even weight distribution across shoulders and chin during head turns.
For congenital muscular torticollis play, the mat must:
Support is distribution; thickness alone is a blunt instrument.
Your floor type dramatically impacts how a physical therapy play mat functions for baby head tilt correction. I've mapped effectiveness across common surfaces: For floor-by-floor recommendations and non-slip tips, check our guide to safe play mat surfaces for hardwood, tile, carpet, and vinyl.
Hardwood/Laminate Floors (Most common in target audience's urban homes):
Tile Floors (Particular challenge for head tilt correction):
Low-Pile Carpet (Adds instability for positioning):
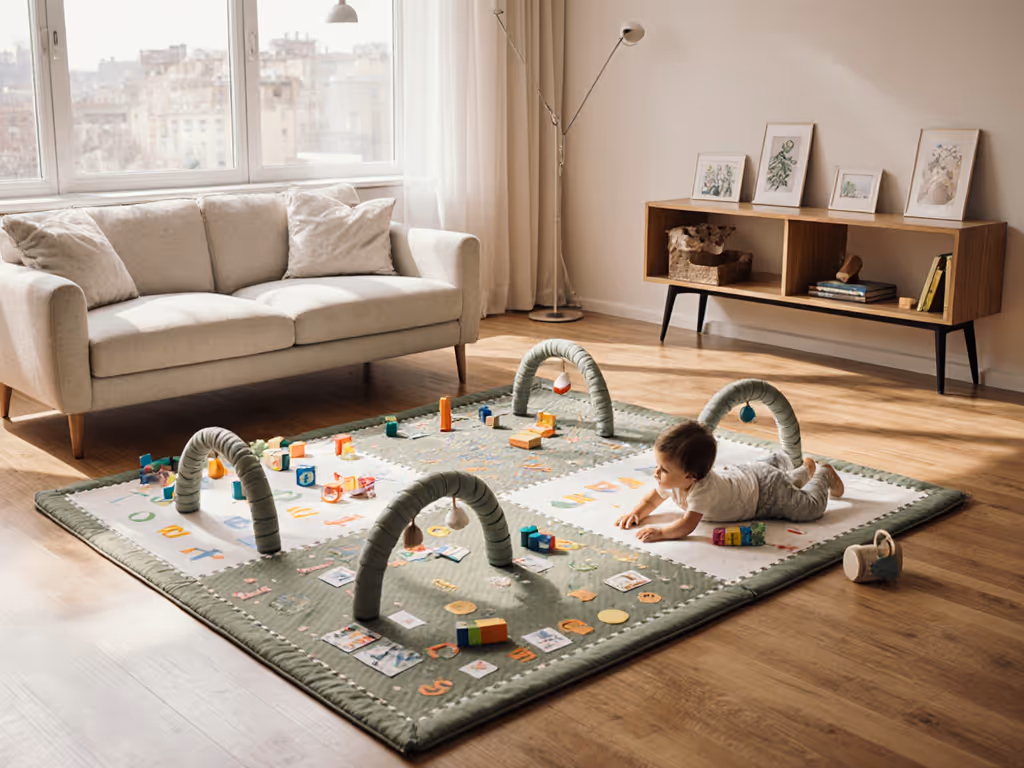
Without proper floor compatibility, your infant neck positioning mat becomes counterproductive (the baby instinctively compensates for surface instability by reinforcing their preferred head tilt). To pair positioning with age-appropriate activities, explore our developmental play mat guide with stage-by-stage ideas.
For baby head tilt correction, material properties matter more than aesthetic appeal:
I consistently see parents over-prioritize plushness while underestimating how floor interaction affects positioning. The mat that "looks" softest often creates the most problematic micro-movements during head turns, exactly what you don't want when building new neural pathways for balanced movement.
The Thickness Trap: Assuming thicker automatically means better support. In my tests, 12mm foam mats compressed 40% under baby's chest weight versus just 15% for properly engineered 8mm mats, creating uneven support that reinforced head tilt.
The Slip-and-Grab Cycle: When mats shift during head turns (common on hardwood with inadequate backing), babies instinctively grab toward their preferred side for stability, reinforcing the very pattern you're trying to correct.
The Cleanability Compromise: Mats requiring spot-cleaning become positioning hazards, parents avoid frequent repositioning to prevent stains, reducing therapy effectiveness. Maintain therapy-ready mats with our cleaning guide for every material, including stain removal and disinfecting steps.
For effective torticollis play mat positioning:
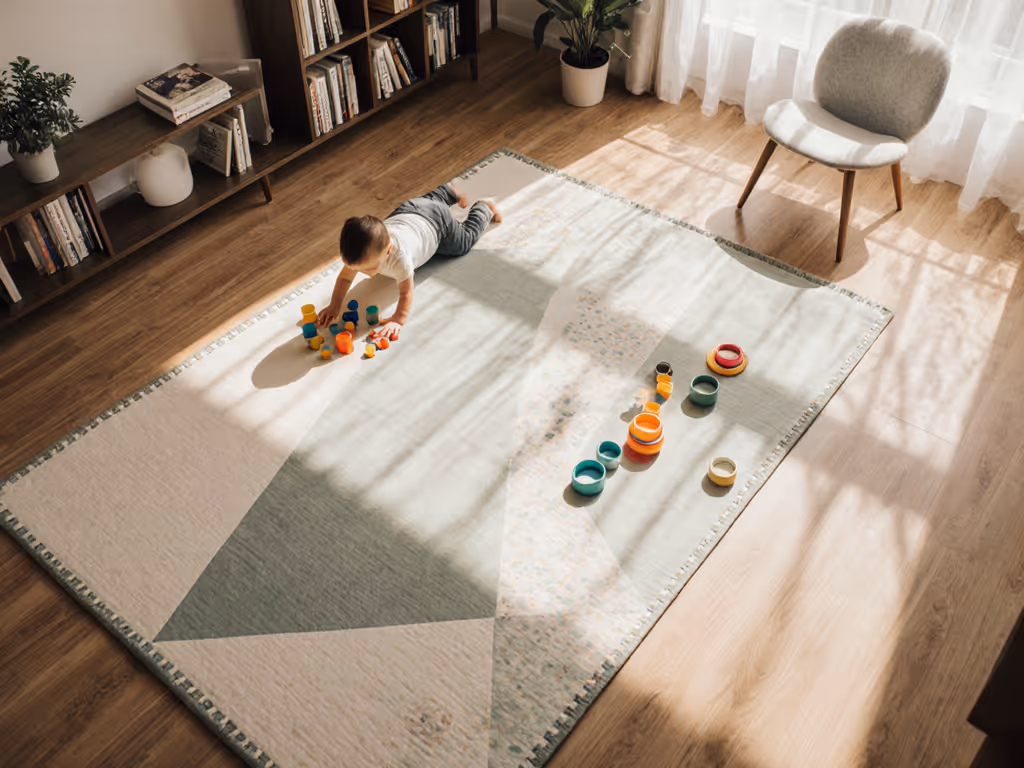
The right mat won't eliminate the need for professional physical therapy, but when properly positioned on your specific floor type, it becomes a consistent support system that reinforces therapeutic positioning throughout the day, not just during formal exercise sessions.
Successful baby torticollis positioning requires treating your play mat as active therapeutic equipment, not passive cushioning. By selecting a mat with appropriate thickness (6-12mm depending on floor type), verified firmness (45-55 ILD), and proven non-slip properties, you create a stable foundation for head tilt correction that works with your floor, not against it.
Remember that measurable comfort (surface pressure distribution, edge stability, and floor interaction) matters more than plush thickness alone. For deeper insights on matching mat properties to your specific floor type and developmental stage, explore our detailed compatibility matrix with compression test data across 22 common flooring scenarios.